- 01: Prep and First Steps →
- 02: Installing the Border and Boards →
- 03: Installing the Fascia →
- 04: Installing the Railing →
- 05: Installing the Stair Railing →
So you're ready to get started? Watch our how-to tutorial before you start your build.
Before you begin any DIY project, make sure to wear the appropriate personal safety equipment. Eye protection, ear protection, gloves, long pants, a long-sleeved shirt, and reinforced toe shoes are recommended. Always make sure that you have a first aid kit nearby.
For any home project, be certain to follow local code and permitting requirements.
Step 1: Introduction and Project Overview
We’re starting our deck project with a completed pressure-treated lumber frame. For this tutorial, we’re using Trex Enhance® decking and fascia in the shade Rocky Harbor and pairing it with our Enhance railing to complete our 12x16 deck. If you're new to building a deck, learn all the parts of a deck.
Step 2: Prepare Your Workspace and Tools
Check that you have all the required materials and kits on-site. Then, set up your cutting area.
Pro Tip
Arranging sawhorses parallel to the deck boards can help you work more efficiently.
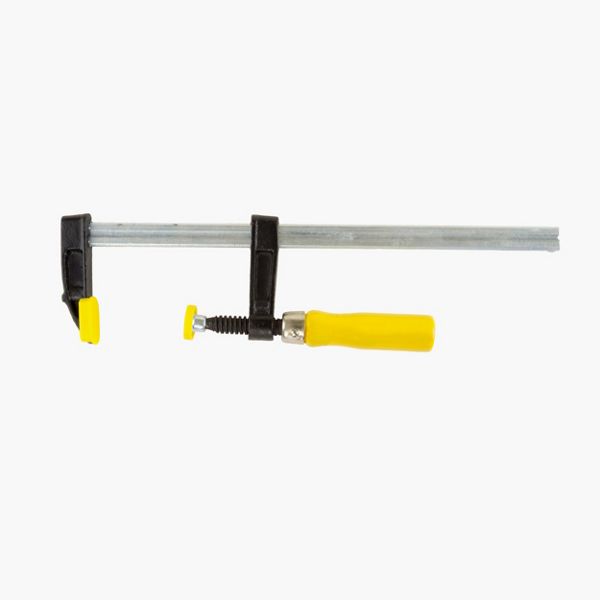
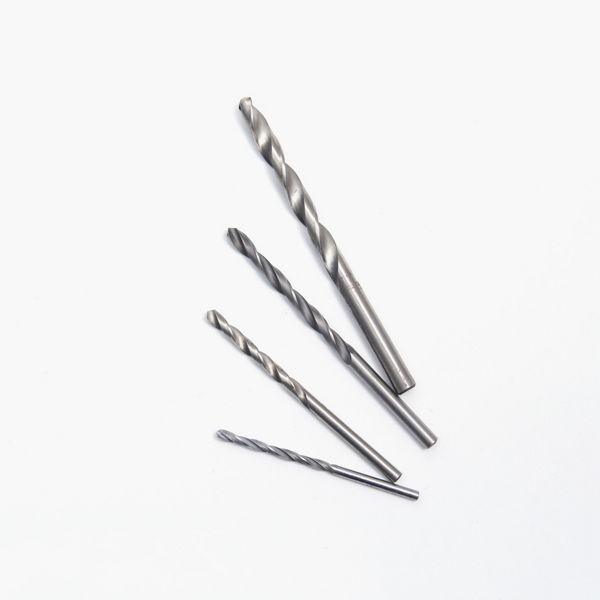
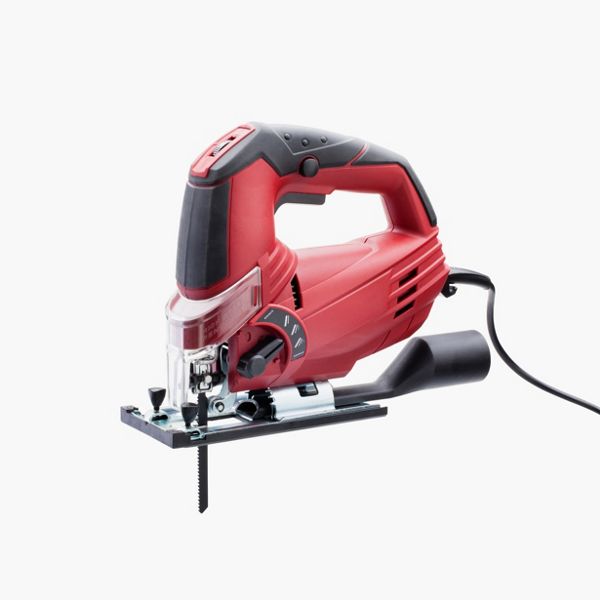
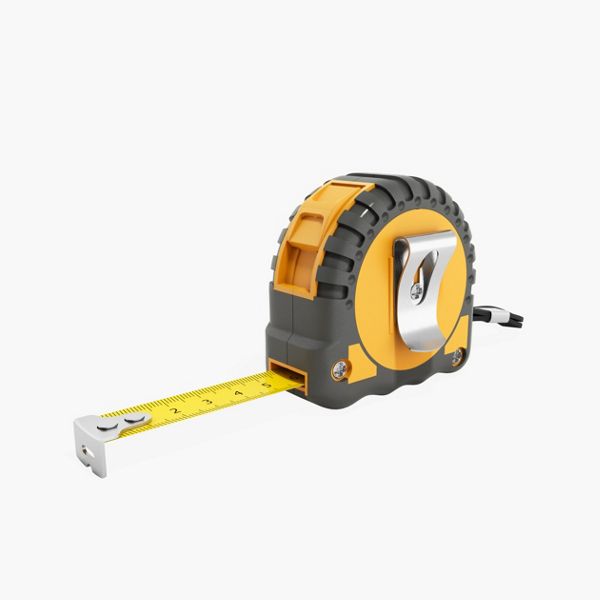
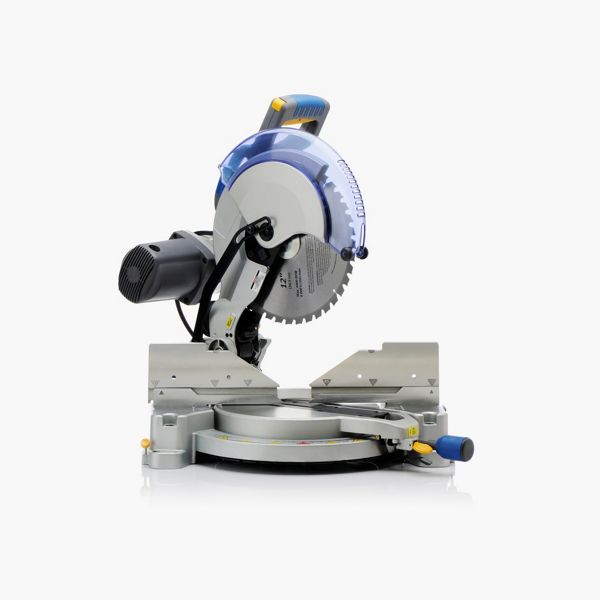
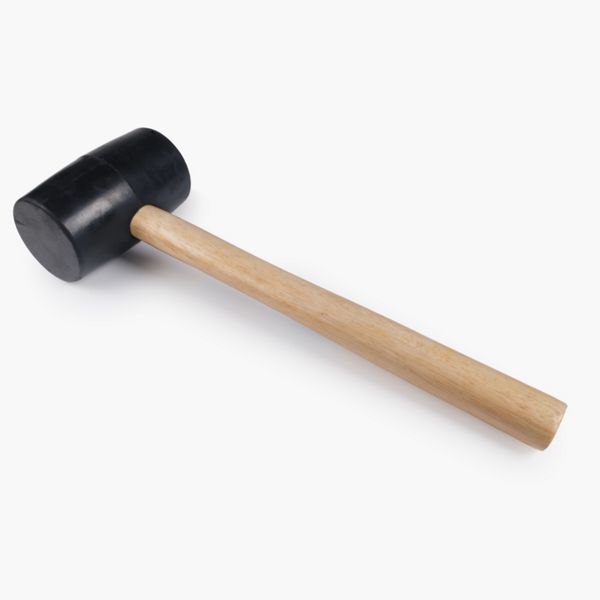
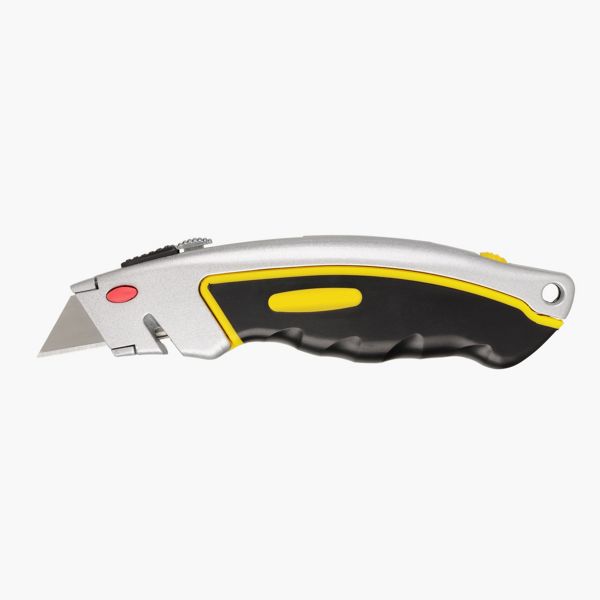
Essential hand tools for this project include a hammer, rubber mallet, speed square, pencil or marker, chalk line, tape measure, utility knife, and several clamps. In terms of power tools, be prepared with a drill, circular saw, jigsaw, and miter saw, all fitted with fresh blades and drill bits.
Step 3: Ensure Deck is Properly Supported
Proper support is essential for a stable and safe deck. Inspect the perimeter of your deck and locate the areas where deck boards will meet at right angles, creating a corner. Pay extra attention to the "picture frame" border as well, which is the outer edge of the deck.
Once you've identified these critical areas, reinforce them by adding additional joists underneath. Make sure these joists are cut to the correct length and are positioned perpendicular to the main deck boards for optimal support.
With your extra joists in place, use specific metal brackets called Simpson Strong Tie seven-inch angles or L70Z angles to firmly attach the joists to the frame.
Pro Tip
To make your deck last longer, cover joists and beams with Trex Protect tape. This tape helps to keep water out and protect the frame from rot and wear.
Step 1: Install the Picture Frame Border
Select a square-edged (non-grooved) Trex Enhance board for the deck’s perimeter, ensuring a 1.25-inch overhang on both ends to accommodate picture frame borders and stair treads. Start installation at the outer rim, moving toward the house to maintain visual consistency, and pre-cut or notch the first two boards for easier fitting around posts. Additionally, factor in the thickness of the Trex Fascia when planning your frame construction.
Step 2: Measure, Cut, and Attach the First Board
Use 12-inch scrap wood blocks for a uniform 1.25-inch overhang, clamping the square-edge board on the rim joist to mark and cut at a 45-degree angle. Ensure clean, mitered corners with a sharp blade on a miter or circular saw. After securing additional blocks to the rim joist's outside, align and clamp the first boards in place.
Step 3: Fasten the Picture Frame Board
When fastening Trex decking, use Trex-approved composite deck screws with double threads for a neat finish. Using non-approved fasteners can result in mushrooming, an unsecure connection and a multitude of other safety and aesthetic issues. Secure the picture frame board with two screws at each joist, placed at least an inch from edges. Make sure they go into the rim joists below. To avoid splitting, pre-drill through the deck board only, not the frame, even if screws are positioned away from edges.
Step 4: Prepare the Second Deck Board
Measure the gap between the two installed blocks, subtract 11.25 inches for the frame boards and expansion gaps, and cut the second deck board to size. Just like with the first board, mark and notch out spaces for the railing posts.
Step 5: Install the Second Deck Board
Place the second board and use a ripped wood piece to maintain a quarter-inch gap, as it lacks a groove for hidden fasteners. Ensure a 5 and 5/8-inch distance from the block for proper alignment, and secure the board's outer edge with an approved exposed fastener.
Step 6: Transition to Hidden Fasteners
After securing the second deck board, transition to the Trex Hideaway system for the rest of the installation, ensuring a consistent quarter-inch gap. Follow the provided instructions closely.
Step 7: Install the Remaining Deck Boards
Install the remaining deck boards, ensuring a tight fit with the Trex Hideaway® Hidden Fastener Clips. You can start fastening from the middle of the board and work toward the ends, or from one end to the other, based on personal preference.
Step 8: Cut and Install the Picture Frame Border
After installing the field boards, cut and notch the picture frame boards to length, using a clamped 2x4 for straight cuts. Secure them with Trex-approved screws, ensuring an eighth-inch gap between ends.
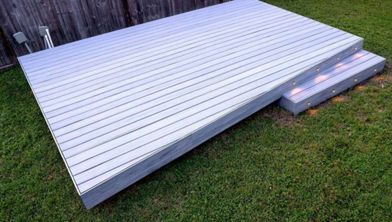
Step 9: Decking the Stairs
Begin by attaching fascia to the stringers, then add risers and treads, using the stringers as a cutting template. Secure risers and treads with two screws per stringer
Step 10: Finishing Touches and Preparing for Fascia Installation
Double-check that all boards and screws are secure and flush, then clean the deck of any debris. Now that your deck surface is complete, you're ready to install the fascia boards for a polished look.
Step 1: Inspect and Prepare the Frame
Before installing the fascia, inspect the perimeter of your deck's frame if time has passed since the last construction stage. Additionally, leave an appropriate gap at the ends of the fascia boards, adjusting for the temperature during installation to allow for expansion or contraction.
Step 2: Measure, Mark, and Cut the Fascia Board
Start with a 1x12x12-foot fascia board, trim one end for a clean edge, and mark a 45-degree angle cut on the opposite end's back side. Set your miter saw to 45 degrees and cut.
Step 3: Pre-Drilling and Screwing
Pre-drill holes and use Trex-approved fascia screws with a pre-drill bit to allow the fascia to float and prevent warping. Secure with screws two inches from each end and spaced at a maximum of 18 inches on center along the fascia.
Step 4: Install the Fascia
With the fascia board cut to length and pre-drilled, you’re ready to attach it to the frame. Temporarily clamp the fascia, leaving slight gaps at ends for potential shrinkage and movement. Once aligned, securely fasten the fascia to the frame. Install your fasteners flush with the fascia. If you drill these fasteners fully, you run the risk of eliminating the floating effect that allows water to pass through the deck.
Pro Tip
Working alone? Use wood scraps to temporarily prop up each end of the fascia board for easy adjustments.
Step 5: Repeat and Finalize
Repeat the installation steps for fascia boards on both sides of the deck, checking alignment and making any necessary adjustments.
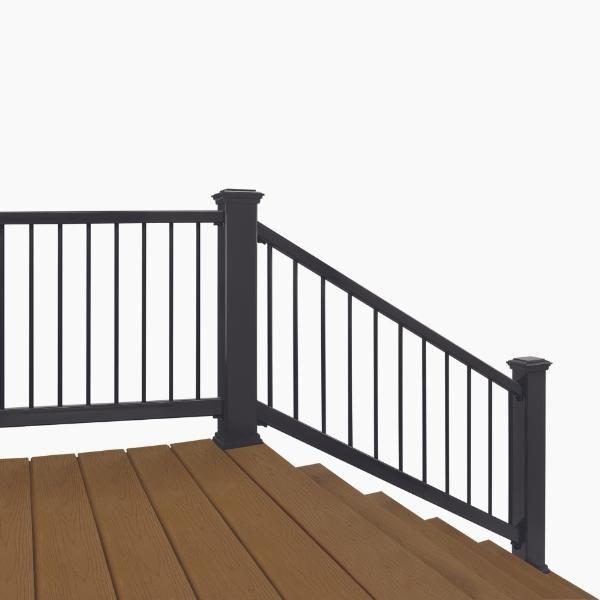
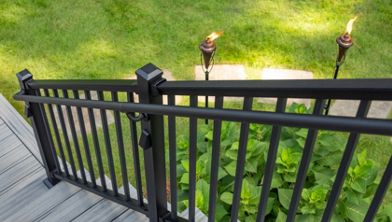
Step 1: Prepare the Post Sleeves
Start your Trex Enhance® railing installation by cutting the post sleeves to size using a miter saw, aiming for 38 to 39 inches above the deck for a 36-inch rail height. For horizontal configurations, a 40-inch length is typical.
Pro Tip
For a simplified shopping experience, try the Trex Enhance® All-in-One Post Kit. Find a post cap, skirt, and sleeve with a new, modern design in one box.
Step 2: Install Post Skirts and Sleeves
Install the post skirts first, then the post sleeves to avoid scuffs or damage. Ensure a snug, aligned fit to prepare for the rail sections.
Step 3: Prepare and Cut the Rails
Assemble the rail sections from your kit, using three 3.75-inch blocks for support, ensuring code-compliant rail height. Ensure equal spacing for the bottom rail between post sleeves, mark for precision, and cut both rails to length.
Pro Tip
Practice cutting a scrap piece of your rail material to get a feel for it before making your actual cuts.
Step 4: Drill and Attach Brackets
Drill a 3/16 inch hole in the bottom rail's center for the foot block and add side holes for drainage. Attach brackets to the top and bottom rails. Check the alignment and make sure that everything is secure.
Step 5: Assemble and Install the Rail Section
Place the bottom rail on a flat surface, supporting balusters with a one-inch decking scrap. Insert balusters into both rails, using a ratchet strap for a snug fit. Rest the assembly on 3.75-inch blocks, align with the post, and secure with a clamp. Fasten using the provided screws, but be careful not to damage the post sleeve.
Step 6: Install the Foot Block and Post Caps
Secure the adjustable foot block under the rail, making sure it fits into the drilled hole. Tighten it. Install a wood screw to fix it in place and cover it with a sleeve. Finally, attach the post caps using adhesive, allowing ample curing time.
Step 1: Preparation and Initial Setup
Ensure you have all components from the Trex Enhance stair railing kit. Start the installation by attaching the lower post skirt and placing the lower post sleeve temporarily without cutting it to length yet.
Step 2: Spacing and Baluster Hole Alignment
Attach a scrap deck board beneath the bottom rail as a spacer to maintain proper height. Temporarily position the rails, ensuring equal distance of the elongated baluster holes from each post sleeve, with at least two inches for the top rail bracket. Place balusters at each end to measure the distance to the post sleeve. Then, position the top rail, aligning the holes equally from the post sleeves at both ends.
Step 3: Mark and Cut Rails
Carefully mark both ends of the top and bottom rails for cutting, as well as the lower and upper post sleeves at the top of both rails. Proceed to cut both rails to the predetermined length.
Step 4: Rail Bracket Installation
Align the bottom rail with the marked lines on the bottom post, temporarily clamp it, and attach labeled stair adapters to the rail brackets. Secure the brackets to the top and bottom rails using the provided screws, ensuring they are flush or slightly recessed from the rail's end.
Step 5: Foot Block Installation
Mark the center of the bottom rail for the foot block, ensuring it’s within four inches of the tread. Drill a 3/16 inch hole at an angle matching the stairs, then securely attach and align the foot block.
Step 6: Finalize Installation
Center and attach the rails to the post sleeves using the provided screws, aligning with previous marks. Place balusters in the bottom rail and secure the top rail. Adjust and tighten the foot block. Trim the lower post sleeve, then attach post caps with adhesive, securing them with tape while the adhesive sets.
Step 7: Cleanup and Final Touches
Finish the installation by checking that all parts are secure and properly positioned. Remove temporary supports, clean the area, and dispose of excess materials.
Congratulations on completing your 12x16 ft Trex deck build! Enjoy the beauty and functionality of your new outdoor space.
Materials
See More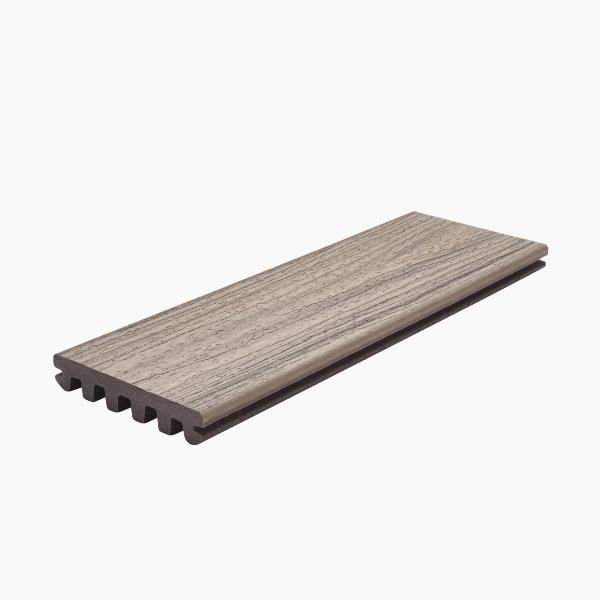


This content was partially or fully generated by AI and has been reviewed by our team to ensure accuracy and relevance.


Copyright © 2026 Trex Company, Inc. All rights reserved.
Photos and videos © 2026 Warner Bros. Discovery, Inc. or its subsidiaries and affiliates. All trademarks are the property of their respective owners. All rights reserved.
- Country
-
Australia
-
Austria
-
Bahrain
-
Brazil
-
Canada English
-
-
Chile
-
Colombia
-
Costa Rica
-
Cyprus
-
Czech Republic
-
Fiji
-
France
-
Germany
-
India
-
Ireland
-
Israel
-
Kuwait
-
 Lithuania
-
Mexico
-
Netherlands
-
New Zealand
-
Norway
-
Oman
-
Qatar
-
Saudi Arabia
-
South Africa
-
Spain
-
Sweden
-
Switzerland
-
Turkey
-
United Arab Emirates
-
United Kingdom
-
United States
-
Venezuela
By choosing your country, you acknowledge that you have read Trex's Privacy Policy