- 01: Best Tools for Cutting Composite Decking →
- 02: Tips for Cutting Composite Decking Safely →
- 03: Best Saw Blades for Cutting Composite Decking →
- 04: Measuring and Marking the Composite Decking →
- 05: Crosscutting Composite Deck Boards with a Circular Saw →
- 06: Crosscutting Composite Deck Boards with a Miter Saw →
- 07: Ripping Composite Deck Boards with a Circular Saw →
- 08: Ripping Composite Deck Boards Down with a Table Saw →
- 09: Two Methods for Notching Composite Deck Boards →
- 10: Cutting Curves in Composite Deck Boards →
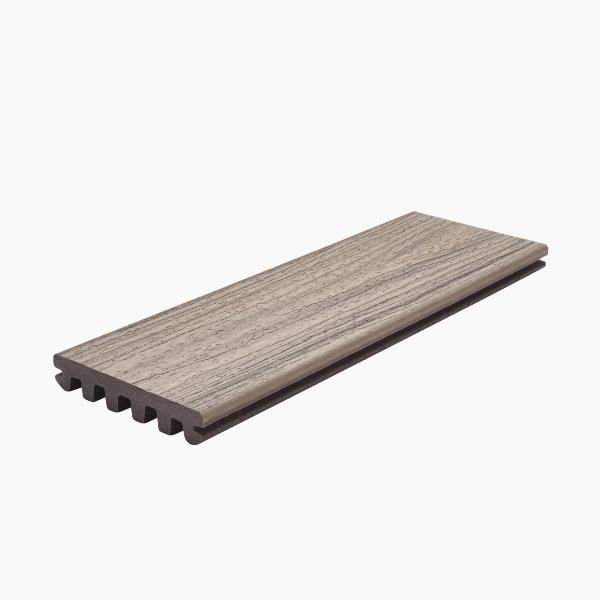
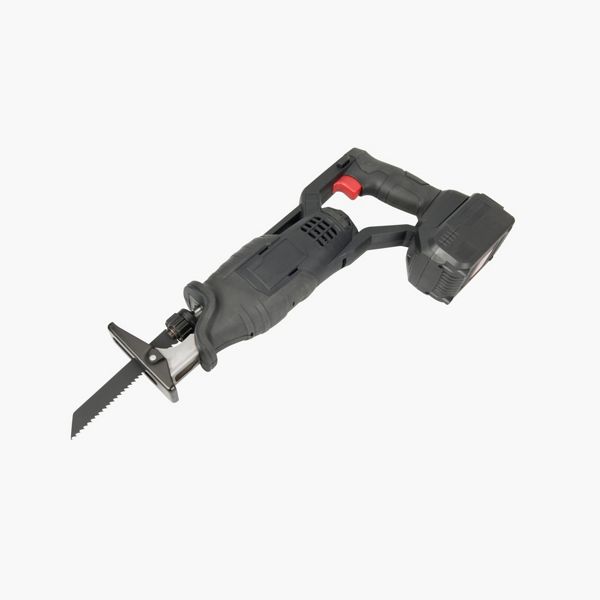
The saws used to cut composite deck boards are the same tools used to cut wood, so no specialty tools are required. Most of the techniques described in this guide will help you effectively and safely cut wood, as well as composite decking.
Circular Saw
A circular saw is a versatile tool capable of both cross-cutting and ripping (cutting down the length) composite deck boards. While it is easier to achieve more accurate crosscuts with a miter saw, with a little practice and using the proper techniques, a relatively inexpensive circular saw is perfectly capable of delivering smooth and straight cuts.
Portability is one main advantage of the circular saw: When cutting with a miter saw, the deck boards need to be brought to the saw, while a circular saw can be brought to the board. This is especially useful when cutting long 20-ft. boards or when trimming the ends off boards already installed on a deck. Standard circular saws have a 7-1/4-in. blade, but both smaller and larger saws are available. Or, for considerably more money, you could purchase a track saw, which rides along on a track and delivers a perfectly straight cut like a stationary saw.
Miter Saw
Whether making a straight 90-deg. cut, or cutting a 45-deg. miter, a miter saw is the best tool for making the most accurate crosscuts. But that accuracy comes at a cost—miter saws are typically much more expensive than circular saws. Also, miter saws are stationary and require a precise system of sawhorses to support extremely long boards. Miter saws are available in a variety of sizes and configurations. Typical blade sizes range from 8 in. up to 12 in. Some saws (sometimes called chop saws) are only capable of cutting the width of the blade, while others, called sliding/gliding miter saws, can cut wider material. Compound miter saws can cut bevels in addition to miters.
Table Saw
There is no better tool for accurately ripping down the length of composite deck boards than a table saw. A portable table saw costs about the same as a miter saw. One disadvantage to using a table saw to rip deck boards is that it is a two-person operation and still may require a system of sawhorses to support the material. Also, table saws are among the worst offenders when it comes to causing tool-related injuries. Operating a table saw requires full situational awareness, a thorough understanding of a saw’s capabilities, and making sure the safety features like riving knives and blade guards remain in good working condition.
Jigsaw
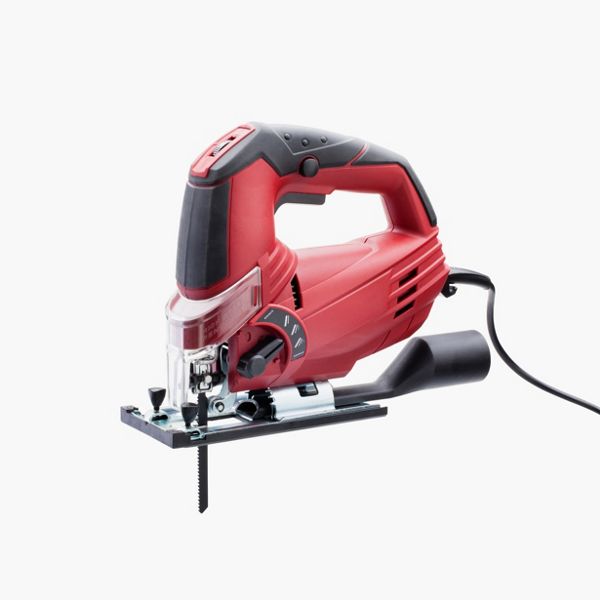
A jigsaw is an essential tool for creating curved cuts and notches. Unlike a circular saw, a jigsaw uses an up-and-down cutting action similar to a traditional hand saw. Because of this, jigsaws leave a rough surface in their wake, so they are not the best tool to be used for standard cross or rip cuts.
In addition to wearing the proper Personal Protection Equipment (PPE), always follow the manufacturer’s safety guidelines for the specific tools you’ll be using. It’s crucial to familiarize yourself with the cutting characteristics of your saws. If you are new to the world of power tools, it might make sense to try several practice cuts on scrap lumber before you start cutting into your composite decking boards.
Wear PPE:
In addition to eye and hearing protection, you should wear a dust mask when cutting decking in a confined area; if your saw or the wind blows sawdust back towards your face; or when making numerous repeated cuts that could fill the air with sawdust. Also, avoid working in loose-fitting clothing and tie up long hair before operating a saw.
Cut Slowly:
Your particular saw/blade combination will have a sweet spot when it comes to cutting speed. Pushing too hard can lead to a rough cut and reduce accuracy by causing the blade to skate (move off track). Using too much force can also cause the blade to bind or generate a kickback. A kickback is when the blade grabs hold of the material instead of cutting through it, making either the material or the saw itself to lurch (sometimes violently) out of control.
Use Sharp Blades:
While it may seem counterintuitive, a sharp blade is a safe blade. While not as big a concern with composite boards as with less stable wood decking, binding and kickbacks are much more common occurrences with a dull blade.
Let the Miter Saw Blade Come to a Complete Stop:
When cutting very small components or cutting the ends off of pieces that leave behind small cutoffs, it’s important to let the blade stop spinning after making your cut before raising it back up. If you raise the blade while it’s still in motion, there’s a good chance the blade teeth will snag the small piece and send it flying.
Support the Material:
This is not always considered a safety issue, but it should be. Trex composite deck boards are made of premium materials that are relatively heavy and flexible. If a long board starts to fall or shift out of position during a cut, a common reaction is to move quickly to grab and stabilize the board. This instinctive motion can accidentally put a limb or digit in the path of a moving blade. When cutting long boards, take the extra time to set up sawhorses or stands that will support the boards as you cut them. Also, make sure the saw table or stands you use are stable and on firm and level ground.
There is a lot to consider when choosing a saw blade, like: tooth hook angles, kerf thickness, gullet size, tooth bevel geometry, etc. But the one characteristic of a saw blade that will affect your cut most is tooth count. Generally speaking, the more teeth a saw blade has, the smoother the cut you will achieve. The downside of having a blade with more teeth is that the saw will cut slower, but this is only a concern when making long rip cuts in thick framing lumber. So, while using a blade with fewer teeth to build the frame of your deck might make sense, a blade with more teeth is the way to go when cutting composite decking.
The best way to remove the guesswork about which saw blade is best is to choose Diablo TrexBlade™ saw blades. These carbide tooth blades have been engineered by Trex and Diablo specifically to cut composite decking. The higher tooth count and thinner kerfs are designed to deliver super smooth cuts without overworking your saw’s motor. The TrexBlades are available in 7-1/4 in., 10-in., and 12 in. sizes and are considered combination blades, which means they are suitable for both crosscuts and rip cuts. Diablo also manufactures a jigsaw blade specifically designed for cutting composite decking.
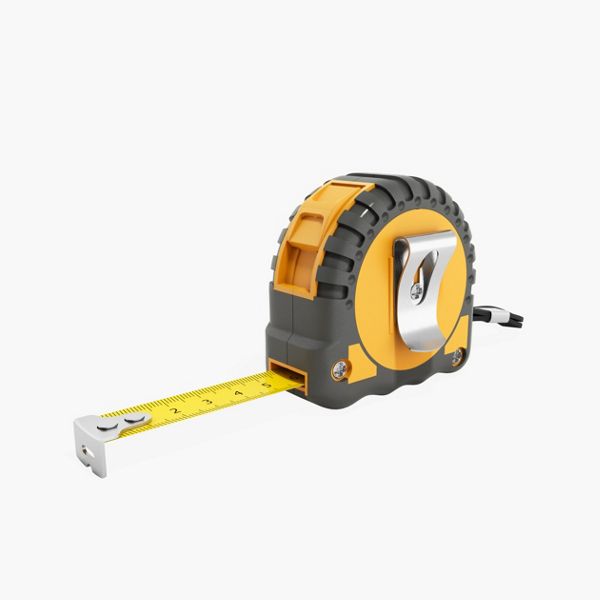
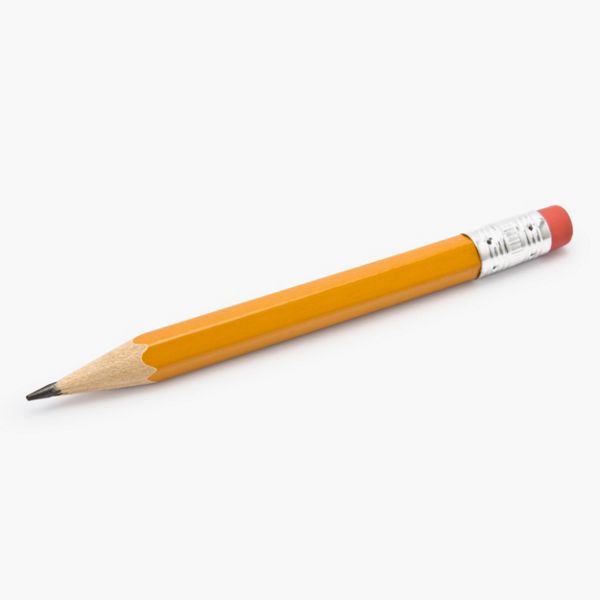
A pencil line is difficult to see when cutting dark-colored Trex composite deck boards. A fine point, silver permanent marker will make a cut line that stands out and is easy to see. Whether using a marker or a pencil, it helps to get into the habit of making your mark on the outside of the line you want to cut. A dull pencil can leave a line 1/16 in. wide, and a marker can leave a line 1/8 in. wide or wider. Cutting to the right, left, or center of your cutline makes a difference. Always leave your mark so it starts at the point that needs to be cut off, that way all your boards will be the exact length you want, and the line will be gone when you’re done cutting.
Pro Tip
If you mismark a board with a permanent marker, a little rubbing alcohol will easily remove the line like it was never there.
Step 1: Support the Board
When making cuts in the middle of a composite deck board, it’s essential to support the board along its entire length. This prevents the board from collapsing in the middle, causing the saw blade to bind. One effective method to avoid blade binding and kickbacks is to place a sturdy board, like a joist, across two or more sawhorses to create a stable cutting surface. Then, position four blocks under the board you’re cutting: one near each side of the cut line and one closer to each end of the board. Add extra blocks on each side to support especially long boards.
Step 2: Trim the Board
To ensure that both ends of each Trex composite deck board you install have a clean and square cut, trim at least 3/16 in. off one end of the board before measuring and cutting the other end.
Step 3: Mark the Board
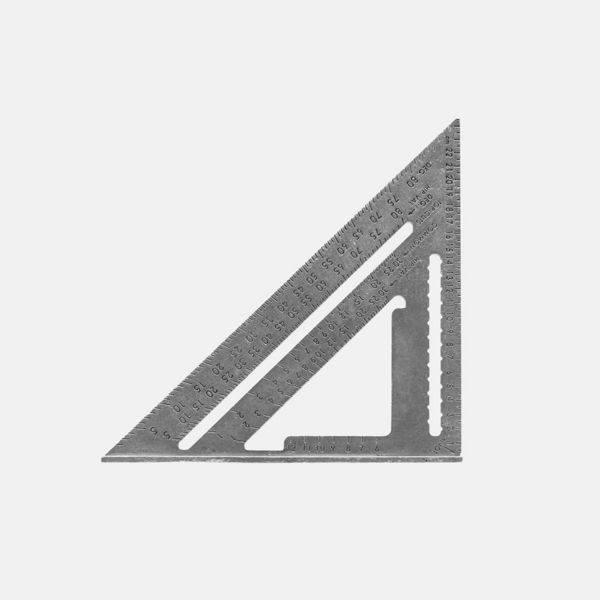
When cutting Trex composite deck boards with a circular saw, you will need to mark a cut line across the entire width of the board using a speed/rafter square.
Step 4: Align the Saw Blade
On the front edge of the base plate on most circular saws you will find cut alignment notch or notches. These notches act as a guide to show where the position of the blade will be when making your cut. Align the appropriate notch up with your cut line before you start cutting to ensure the blade is heading in the right direction from the beginning of the cut. If you are working with a new saw, make a few practice cuts on scrap boards to familiarize yourself with how to align your blade before starting a cut.
Step 4: Make the Cut
Start the saw and move the blade slowly into the cut. Keep an eye on the alignment between the blade and cutline throughout the cut.
Pro Tip
A handy alternative to cutting freehand and ensuring accurate cuts every time is to use a rafter square as a fence. Once you have both the blade and the saw notch lined up on your cut line, align a rafter square against the base of the saw and firmly hold the lip of the square to the edge of the board. Make your cut by sliding your saw’s base plate against the square. You can also use your rafter square as a guide fence to cut 45-deg. angles.
Step 1: Support the Board
Make sure the composite deck boards are supported at both ends before making your cut so that one or both sides don’t drop down to the ground after cutting.
Step 2: Trim the Board
To ensure that both ends of each Trex composite deck board you install has a clean and square cut, trim at least 3/16 in. off one end of the board before measuring and cutting the other end.
Step 3: Mark the Board
Marking a cut line with a rafter square across the entire length of small boards is not necessary when cutting composite deck boards with a miter saw. Just make sure to mark the board where you can align it with the blade when you lower the saw. If your mark is on the edge of the board nearest the fence, you won’t be able to align the blade with the mark before cutting. A full-length cut line can, however, act as a helpful guide to ensure that the board and fence are perfectly aligned when cutting long boards, or miters on a sliding miter saw.
Step 4: Align the Saw Blade
Press the board firmly against the fence of the saw, and lower the blade without the motor engaged near the surface of the board. Slide the board back and forth until the blade aligns with your measurement mark. If you have made a full-length cut line, lower the blade without the motor engaged, and run it along the entire length of the line. If it follows the line perfectly, you know your board and fence are aligned.
Step 5: Make the Cut
When using a chop saw, simply lower the spinning blade slowly into the material until the board is cut in two. When using a sliding miter saw, lower the blade all the way down in front of the board, and then push through the material from front to back. Sliding miter saws are designed to cut on the push stroke. Pulling the blade from back to front could cause the blade to rise out of the material and cause it to run across the board right towards you.
Pro Tip
If you are having trouble keeping the boards aligned with the fence while cutting, consider using the hold-down clamp (included with most miter saws) to ensure the board stays put while you cut it.
Step 1: Mark the Board
Make a clear cut line the entire length of the board. Sliding a pencil or marker along the end of the ruler on a combination square is an easy way to achieve a straight and accurate line.
Step 2: Support the Board
Keeping the board fully supported is key to safely and accurately ripping a deck board with a circular saw. This is best accomplished by using a long, sturdy support board beneath it. You always want to secure the larger strip of the board to the support board while ripping. If half of the deck board you want to keep is the larger strip, screw both ends of the board to the support board and cut it to length (cutting off the screw holes) after it has been ripped down. If it’s the smaller strip you need to keep, you can secure the scrap side of the board to the support board with screws at several points along its length without having to worry about screw holes.
Step 3: Align the Blade
Start by aligning the notch on the front of your saw’s base plate with the cut line before you start your cut, the same as you would when crosscutting a composite deck board.
Step 4: Make the Cut
Engage the blade and start your cut into the board. Some people find it easier to keep an eye on how the notch is lining up with the cut line as they are making the entire rip cut.
Step 1: Set the Saw Blade Height
Set the saw blade height so the bottom of the gullets on your blade is at the same height as the top surface of the board. The gullets are the small valleys located between each tooth.
Step 2: Support the Board
To achieve a perfectly straight line, the deck board must ride flush against the length of the saw fence throughout the entire cut, which is why ripping long boards on a table saw is a two-person operation.
Step 3: Align the Board along the Fence
Set the saw fence to the required width; line up the board with the fence; and prepare to push the board through. Table saws leave a smoother edge on the top of a board, so always make your cut with the top surface of a deck board facing up.
Step 4: Make the Cut
It works best if the person receiving the outfeed is in charge of keeping the board aligned with the fence, while the person feeding the board concentrates on how fast the board is being fed into the blade. Having both people focus on alignment can lead to over-corrections and a wavy cut. Another job of the outfeed person is to keep the two sides of the board separated somewhat. Squeezing the two pieces together after they have been cut can cause the blade to bind. And always push rather than pull. Having the outfeed person pull the piece through can result in the board feeder’s hands getting pulled into the blade.
Pro Tip
It’s always safer to have the bulk of the board sliding between the fence and the blade. So, if the piece you need to keep is small, set the fence to the measurement of the scrap side of the board. For example, if you need a board 2 in. wide, set the fence at 3-5/8 in. That is:
5-1/2 in. (width of the board)
– 2 in. (the board you need)
+ 1/8 in. (the thickness of the blade)
= 3-5/8 in. (fence setting).
Notching boards with a jigsaw to fit around railing posts is a common process when building a deck. There are two ways to accomplish this. The second method works better for small notches, where cutting a tight radius curve with a jigsaw might be difficult.
Step 1a: First Cut
Cut along one of the lines perpendicular to the edge of the board.
Step 2a: Second Cut
Cut along the second line perpendicular to the edge of the board.
Step 3a: Cut a Curve into a Corner
Create a curved cut, making your way to the cut line parallel to the edge of the board and into one of the corners.
Step 4a: Finish the Notch
Start your last cut from the corner you just ended in and work your way back along the parallel cut line to finish the cut.
Step 1b: Drill a Hole
Drill a hole in one of the corners with a drill bit that is larger than the width of the jigsaw blade.
Step 2b: First Cut
Insert the jigsaw blade into the hole and follow the cut line parallel to the edge of the board.
Step 3b: Second Cut
Cut along one of the two cut lines perpendicular to the edge of the board.
Step 4b: Finish the Notch
Finish the notch by cutting along the remaining cut line perpendicular to the edge of the board.
Step 1: Mark the Board
It’s most common to mark curved boards while they are set in the place where they will be installed.
Step 2: Make the Cut
Cutting curves with a jigsaw is the one time when it’s better to cut to the outside of your line. That way, you don’t undercut the board. You will be sanding the board to its exact size and removing the line in the next step.
Step 3: Smooth the Cut
Use a finishing sander or belt sander to smooth the cut edge. It’s usually best to sand all the boards at the same time after they have been installed.
Pro Tip
If possible, set the blade on the jigsaw at a slight angle, so you create a bevel as you cut. You want the long section of the board on top and have the cut taper down slightly to the bottom of the board. This will make it so there is less material you need to remove when you are sanding the boards smooth.
Continue your deck-building education by learning how to fasten Trex Enhance® Decking. Or choose another helpful guide or video from one of the many you will find at Trex Academy.
This content was partially or fully generated by AI and has been reviewed by our team to ensure accuracy and relevance.

