- 01: Guidelines and Specifications →
- 02: 90° Wall Returns →
- 03: Inline Brackets →
- 04: Rail-to-Rail Connections and Wall Mounts →
- 05: Handrail Return 180° →
- 06: Elbows and Corner Mount →
Step 1: Choose your design
ADA handrails can be used throughout your entire deck, including on stairs and ramps. Before beginning your installation, consider where an ADA handrail is necessary on your deck. Consider different design options, including straight and 90° wall returns, 90° corners, and adjustable angles.
Step 2: Understand the requirements
A handrail must meet some key requirements to be considered ADA-compliant. At the time of writing, ADA requirements are as follows:
- Be installed at a height between 34 and 38 inches above the walking surface
- Extend along the entire length of a stairway or ramp without interruption or breaks
- Have a gripping surface with a diameter between 1.25 and 2 inches
- Provide a minimum clearance of 1.5 inches between the handrail and the wall or any other obstruction.
ADA compliance requirements can vary depending on specific building codes and regulations. We recommend consulting with local authorities for the most up-to-date ADA guidelines.
Wall returns connect your handrail to a wall or other vertical surface. It also caps off the open end of the handrail, preventing any exposed edges that could pose a safety risk.
Step 1: Cut the railing
Start by cutting the railing to the right length depending on where it will be attached to other components or wall returns.
Step 2: Slide the collar over the rail
To hide the seam where the handrail meets the wall return, you can use a collar ring. Make sure to slide the collar over the rail before inserting it into the wall return.
Step 3: Insert rail into wall return
Slide the rail onto the wall return until it's completely inserted, making sure the seam is hidden beneath the collar if you’ve decided to use one.
Step 4: Attach the wall return
Now, attach the wall return using the hardware provided, ensuring it aligns properly with the post. Remember, the wall return fits snugly into the rail, so the attachment location is crucial.
Pro Tip
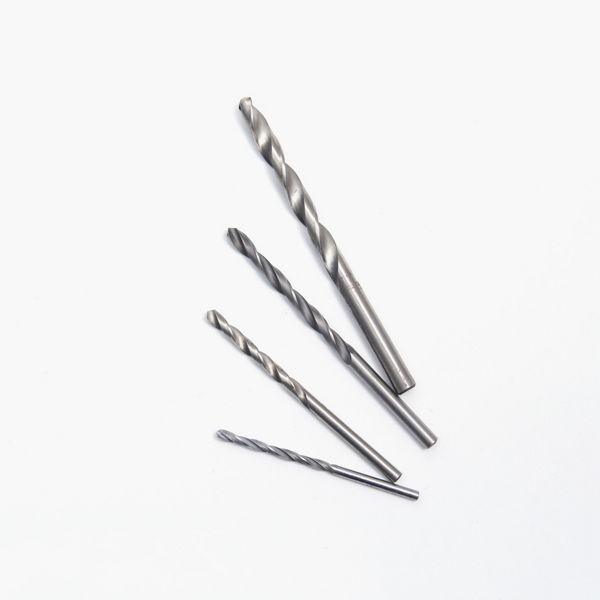
When attaching wall returns and brackets to metal posts, always pre-drill the post. Use a drill bit that is slightly smaller in diameter than the screw being used for attachment to ensure a secure fit.
Inline brackets secure your handrail directly to a wall or other vertical surface in a straight and continuous line.
Step 1: Cut the railing
Start by cutting the railing to the right length depending on the location of your inline bracket or if it’s being attached to other components.
Step 2: Attach the bracket
Once you have the right length, you can attach the inline bracket to the post using the provided hardware.
Step 3: Slide on the rail
Slide the rail onto the inline bracket until it’s fully inserted. Double-check that the rail is sitting flush with the bracket and isn’t wobbling.
Rail-to-rail straight connections are used for longer spans of handrails. Posts must be installed at a maximum of 6 feet on center when using rail-to-rail connections.
Step 1: Cut the railing
Cut railings to size if two or more full-lengths are not required.
Step 2: Slide the collar over the rail
To hide the seam where the two pieces of handrail will meet, you can use a collar ring. Make sure to slide the collar over one rail before connecting.
Step 3: Connect the rails
Slide the internal connector into the rail end until the metal spacer screw touches either the end of the handrail or the collar if you’re using one. Next, slide the second rail over the opposite end of the internal connector until it is also touching the metal spacer screw. Next, remove the spacer screw using a #2 square-head screwdriver. With the screw removed, push the second rail further over the internal connector until it fits in the collar or tightly against the opposite rail.
Step 4: Attach wall mounts
Attach wall mounts as needed to posts using the provided hardware, keeping in mind that a wall mount must be used at each rail-to-rail seam connection. Make sure each wall mount is at the proper angle of alignment to the angle of the rail. To help with an angled attachment, place one screw into the bottom hole of the bracket and pivot the wall mount to the required position.
Step 5: Attach the rail
Finally, attach the connected rail to the wall mount using the provided hardware and finish by attaching the end cap to the rail for a safe, professional finish.
Handrails ensure your railing extends beyond the top and bottom of a set of stairs or a ramp, as required by ADA guidelines.
Step 1: Cut the railing
First, make sure you have the right railing length for your handrail return. You'll also want to use a collar ring if you want to hide the seam between the handrail return and the rail or elbow. Slide the collar ring over the rail before inserting it into the other component.
Step 2: Align the components
Before you attach anything, make sure all the components are aligned properly. This means checking that the wall mount on the post lines up with the location of the elbow on the rail.
Step 3: Slide the internal connector
Once everything is lined up, slide the internal connector into the appropriate elbow until the metal spacer screw is touching either end of the elbow or the collar, if you used one.
Step 4: Connect the wall return
Next, attach the wall return to the lower end of the handrail return (the longer side). Make sure the wall return is at the proper angle of alignment to the post. The wall return is designed to fit tightly into the rail, so the location of the attachment is critical.
Step 5: Finish the connection
Slide the opposite end of the handrail return onto the internal connector until it's touching the metal spacer screw. Remove the metal spacer screw using a #2 square-head screwdriver and push the handrail return further over the internal connector until it fits in the collar (if you used one) or fits tightly against the elbow.
Step 6: Attach the wall return
Finally, attach the wall return to the post as previously described and use end caps where required for a finished appearance.
Elbows are used to change the direction of your handrail on a staircase or ramp.
Step 1: Cut the railing
Cut the railing to the proper length based on the location of the elbows and other components being used. Use a collar ring to hide the seam between the elbow and the rail if desired. Slide the collar ring over the rail before inserting it into the elbow.
Step 2: Begin the connection
For the adjustable elbow, slide it into the rail and ensure it fits tightly against the rail. For angled elbows, slide the internal connector into the rail end until the metal spacer screw touches either the rail's end or the collar if you used one. Then, slide the appropriate angled elbow onto the opposite end of the internal connector until it's touching the metal spacer screw.
Step 3: Adjust the elbow or complete the connection
For the adjustable elbow, determine the angle required and tighten the set screw on the adjustable elbow. Doing this before the final attachment is recommended to access the set screw more easily. Remove the metal spacer screw using a #2 square-head screwdriver for angled elbows. Push the elbow further over the internal connector until it fits in the collar (if you used one) or fits tightly against the rail.
Step 4: Install the corner mount
For the corner mount, pre-drill the metal post and install the corner post to the metal post using the provided hardware.
Step 5: Secure the elbow
Finish by installing the elbow to the corner mount.
Pro Tip
All elbow components can be cut down to allow for tighter angles. Cut a maximum of 2” on each side if required. Always wear proper safety eyewear when cutting metal and remove all burrs from the cut ends before installing. Using a non-ferrous metal blade is recommended.
Build an Accessible Deck with Trex!
Little things can make a big difference, which is why adding a Trex ADA-compliant handrail to your deck can make such an impact. You can create an inclusive and welcoming environment by making every guest on your deck feel valued and safe.
Discover more Trex products that can help turn your outdoor space into an inviting space for everyone.
Your list of materials will vary depending on your deck’s layout and the specifications of your handrail. However, you’ll likely require several of the following:
Materials
ADA Collars
ADA Corner Mount
ADA Elbows
ADA End Caps
ADA Handrail
ADA Handrail Return
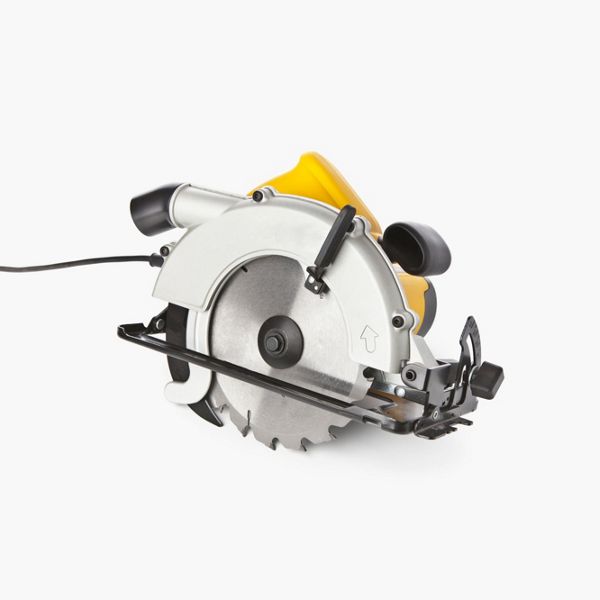
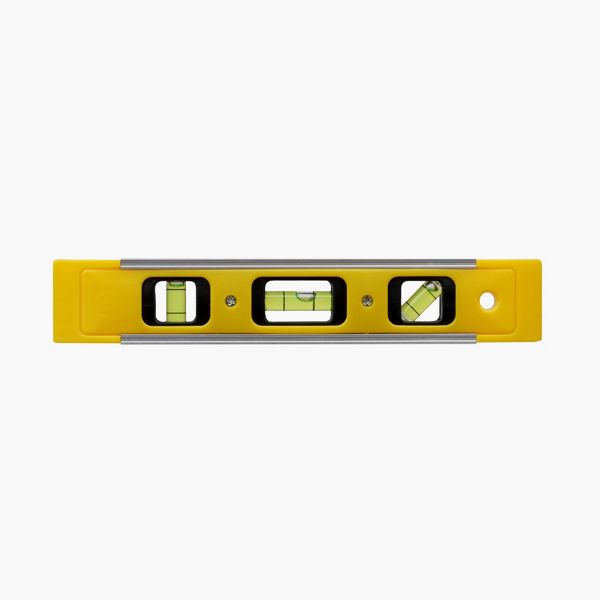
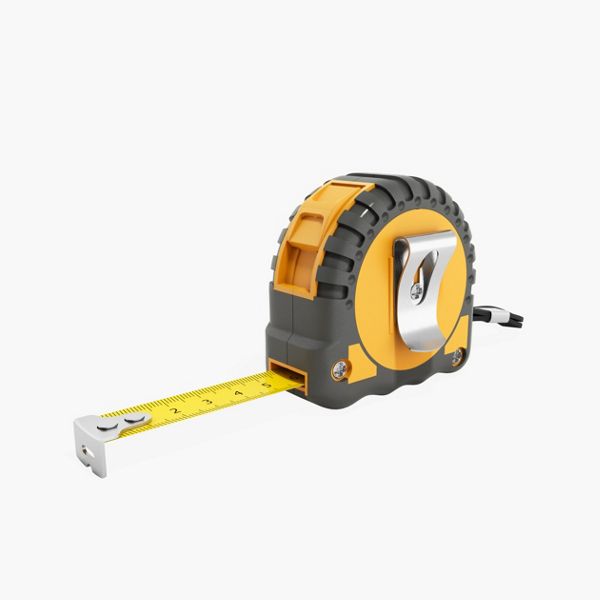
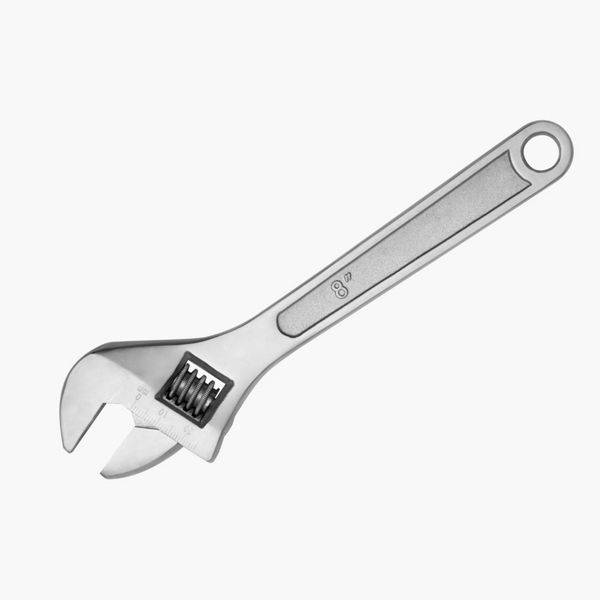
You may also need short metal screws, long metal screws, and wood screws. Installing an ADA-compliant handrail is likely to require the following tools:


This content was partially or fully generated by AI and has been reviewed by our team to ensure accuracy and relevance.


Copyright © 2026 Trex Company, Inc. All rights reserved.
Photos and videos © 2026 Warner Bros. Discovery, Inc. or its subsidiaries and affiliates. All trademarks are the property of their respective owners. All rights reserved.
- Country
-
Australia
-
Austria
-
Bahrain
-
Brazil
-
Canada English
-
-
Chile
-
Colombia
-
Costa Rica
-
Cyprus
-
Czech Republic
-
Fiji
-
France
-
Germany
-
India
-
Ireland
-
Israel
-
Kuwait
-
 Lithuania
-
Mexico
-
Netherlands
-
New Zealand
-
Norway
-
Oman
-
Qatar
-
Saudi Arabia
-
South Africa
-
Spain
-
Sweden
-
Switzerland
-
Turkey
-
United Arab Emirates
-
United Kingdom
-
United States
-
Venezuela
By choosing your country, you acknowledge that you have read Trex's Privacy Policy