- 01: Determining and Marking Joist Locations →
- 02: Crowning Joists →
- 03: Rim Joist →
- 04: Understanding and Marking Deck Joist Spacing →
- 05: Breaker Board Joist Layout →
- 06: Determine Deck Joist Length →
- 07: Install Rim Joist →
- 08: Create a Flat Top Surface →
So you're ready to get started? Watch our how-to tutorial before you start your build.
Before you begin any DIY project, wear the appropriate personal safety equipment. Eye protection, ear protection, gloves, long pants, a long-sleeved shirt, and reinforced toe shoes are recommended. Always make sure you have a first aid kit nearby. For any home project, be sure to follow local code and permitting requirements.
Proper deck joist spacing is essential for building a strong, durable deck that can safely support foot traffic, furniture, and environmental loads. Incorrect spacing can result in a weak or sagging deck surface, potentially creating safety hazards such as trip risks, structural instability, or premature wear of decking materials. Additionally, failing to follow recommended deck frame spacing guidelines may lead to inspection failures or noncompliance with local building codes, requiring costly corrections before the deck can be approved for use.
While some materials, such as thicker wooden decking boards, may allow for 24-inch on center (OC) spacing in specific applications. When installing composite decking, joists should generally be spaced no more than 16 inches OC for standard applications. If you plan to install your decking diagonally relative to the joists, 12-inch spacing is required. Installing joists 12 inches apart or less may also be required for joists that carry heavier loads, have longer spans, or utilize intricate deck patterns. Because of the additional force of stepping down, you should install your stair stringers to the specifications of the type of tread material you are using, which is usually 12 OC or less. If you are replacing wood decking with composite decking and find that the existing joists are spaced 24 inches OC, adding one new joist between each of the existing joists is a simple fix.
It’s best to mark both the ledger board and the rim joist at the same time. Marking both boards before you install the ledger will not only ensure accuracy, it will also help you identify the areas to avoid when installing your ledger board fasteners, so they don’t interfere with the joist or joist hangers.
Step 1
Once they are cut to size, set both the rim joist and the ledger, side by side, on a pair of sawhorses.
Step 2
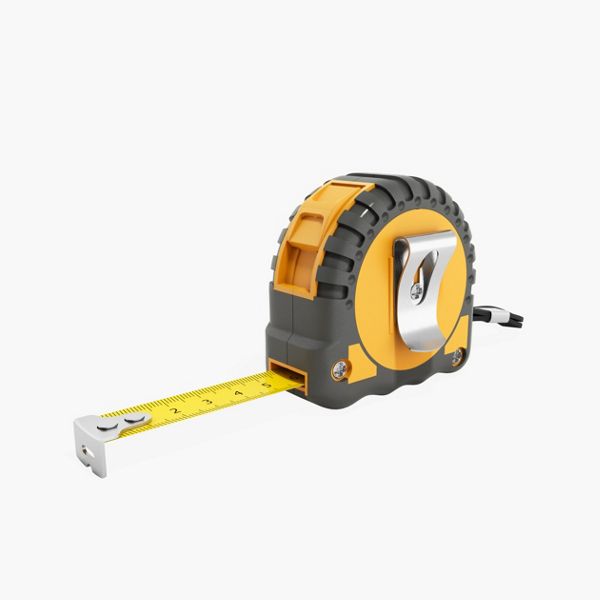
Hook your tape measure on the end of either board and make a mark every 16 or 12 inches (depending on your application).
Step 3
Before installing the ledger board, double check that the joists won’t interfere with any wall protrusions, railing post locations, or any other obstacle that a joist location might interfere with.
Step 4
Once you have confirmed that the joist spacing will work, use a square to draw one line that crosses both boards at those locations you marked. You can mark the location of each side of the joists or just mark one side and draw an “X” on the side of the line where the joist will be installed.
If you examine a joist closely, it is unlikely that it will be perfectly straight. Most joists will be somewhat bowed (crooked from side to side), twisted, or crowned (have a natural curvature along the length of a board). It is necessary to examine every joist and determine which side has the crown (the side of the board curved out).
All the joists need to be installed with the crowns up, so they will become flatter if/when they settle. If the crowns are installed down, the joists could sag. And if one board is installed crown up, next to a board with the crown down, you will end up with a wavy, uneven deck surface.
Step 1
To crown the joist, just hold it up and look down the length of the board. If you can't tell which side has the crown, hold a long straight edge held along side the edge of the board towards the middle. It's important to find the crown, even if it is very slight because pressure treated wood is usually sold wet, and a wet board will often continue to bend as it dries. Even the slightest curve will let you know which direction it will continue to bend.

Step 2
Once the crown is identified, mark the crowned edge with an "X."

Rim joist is a term used to describe the joist that runs perpendicular to, and is attached to, the end of the standard joists that make up most of the deck frame. Some carpenters also refer to the two side end joists as side rim joists as well.
Step 1
When installing the side rim joist, start by ensuring that the top of the side rim joist is flush with the top of the ledger board.


Attach the side joist with approved fasteners. These fasteners will go through the side joist and into the ledger board. In this project, Simpson Strong Tie SDWS 3” Framing screws were used.

Step 2
A mechanical connection is also required. This needs to be some type of joist hanger to attach the side joist to the ledger board. A Simpson Strong Tie L70Z was used with 1 ½” Simpson Strong Tie SD Connector screws.
Place the L70Z angle bracket in place and fasten the screws through the designated holes in the bracket. Make sure to fill all holes in the bracket.

Step 3
When a drop beam is present, there must be a mechanical attachment from the joist to the beam. Here, the side joist is attached to the beam to prevent any uplift of the joist off the beam.
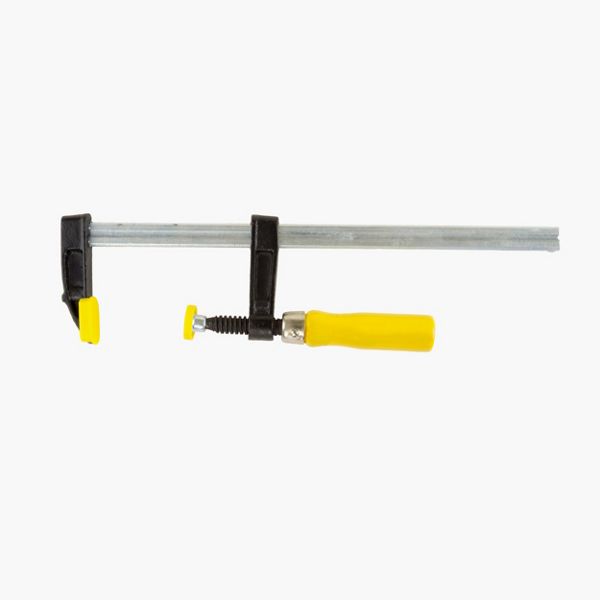
Start by making sure the side joist is flush with the outside edge of the beam and clamp it in place. This will ensure that the joist does not move when installing the hardware.

Step 4
Hold the Simpson Strong Tie Hurricane Tie H2.5AZ in the corner of the joist and beam. The hurricane tie should have the tab of the tie flush with the top of the beam. Fasten the tie to the joist first with 1 ½” Simpson Strong Tie SD Connector screws.

Step 5
Once all the holes in the hurricane tie have been filled with fasteners, attach the hurricane tie to the beam with the same fasteners. Make sure to fill all the holes.

The field joists are the joists in the middle of the deck, in between the side rim joists. To install these joists, we recommend starting from the side rim joist that was previously installed and work one-by-one to the other edge of the deck frame.
Pro Tip
Installing the blocking, joist hangers and beam attachments as each joist is installed will eliminate the need to climb back over the joists later.
Step 1
Start by installing the blocking over the beam. This is a piece of the joist material cut to length between the joists. These blocks are required by code to prevent the joists from rolling or twisting.
Step 2
The ledger board was laid out and marked and can be used as the template to measure the blocks needed. Cut the block to length and coat each cut end with a wood preservative.
Place the block over the beam to one side of the beam or the other. The blocks will be staggered, meaning that the first block with be flush with the front of the beam and the next block will be flush with the back of the beam, etc.
Using a speed square, make sure the block is straight up and down, mark the top of the joist to know where to hold the block.

Fasten through the side of the rim joist into the block with Simpson SDWS 3” Framing screws.

Repeat this process for the blocking on all other beams.
Pro Tip
The joist hangers should not be installed on the ledger first and then have the joist sit into them. Although you may think this is a quicker approach, it is not recommended. Wood joists can be different widths even if they came in the same bundle, so if the joist hangers were installed first, the joists would be higher and lower as they went down the ledger board. The decking would then be wavy as the decking would be as high and low as the joists.

Step 3
With the crown up (as determined before the installation process in Chapter 2), slide the joist up to the mark laid out earlier on the ledger board. Place the joist on the side marked with an "X" to keep the correct spacing.

Make sure the top of the joist is flush with the top of the ledger board.

Pro Tip
When working alone, working with no drop beam, or when detail is of the most importance, a L70Z angle bracket or small piece of wood can be fastened to the top of the joist. This will sit over the edge of the joist and on top of the ledger board to ensure that the top of the joist and top of the ledger board are flush with each other. Remove the block or L70z once the joist has been attached.

Step 4
Slide the joist hanger in place from the bottom of the joist. Make sure that the joist hanger is tight to the bottom and sides of the joist. A Simpson Strong Tie LUS28Z was used for this application.

Step 5
Start by fastening into the top hole of the hanger with a 1 ½” Simpson Strong Tie SD Connector screw.

Holding the joist hanger tight to the bottom and side of the joist, fasten into the top hole of the joist hanger on the opposite side of the joist than the previous fastener.

Verify that the joist is straight up and down by using a speed square against the ledger board or a small level to verify that the joist is plumb.

Step 6
Fasten the hanger to the ledger board through the remaining holes with the same 1 ½” SD Connector screws. Once those are filled, then install 2 ½” SD Connector screws into the angled holes on the side of the joist hanger. These screws will go through the hanger, joist and into the ledger board preventing the joist from pulling away.

Step 7
Push the joist tight to the beam blocking. Make sure the block is flush to the beam. Verify that the block is straight up and down. The top of the block must be flush with the top of the joist. If the block is higher than the joist, then it will affect the decking and create a bump when the decking is installed.
Once these items have been verified, fasten the joist to the block with the Simpson SDWS 3” Framing screws. Two screws per block.

Step 8
Install the hurricane tie to attach the joist to the beam. The field joists can use either a H1Z or the H2.5AZ shown earlier from Simpson Strong Tie. Use the same 1 ½” SD Connector screws.

Repeat the process starting with the blocking. In order to install the screws straight into both ends of the blocks, make sure the blocking is staggered rather than being in line with the block on the other side of the joist.

Repeat the steps to install the rest of the joists. Blocking, joist, joist hanger, fasten joist to blocking, and hurricane tie.
This deck is longer than 20 feet, which is longer than the longest deck boards available. You could use two boards per run and butt them together on joist using Trex Hidden Butt Joint clips. In which case you would want to stagger the seams so they all wouldn’t line up on the same joist. In this case however, we are installing a border deck board that runs down the center of the deck which allows us to install two smaller boards on either side of it. In order to support the border board as well as the ends of the boards that butt into it, we need to install a couple extra joists called breaker boards.

Install the first breaker board next to the last joist installed.

By installing each joist one at a time, it is easier to reach all the hardware in its respective locations. If all the joists would have been installed and then the hardware, some places would have been harder to access.

Finish installing the joists one joist at a time with all hardware and blocking until the end of the deck is reached.

We did not cut these deck boards to length intentionally. That’s because we don’t know if the house wall is perfectly straight. If you cut the joists to length before you install them, the ends will follow the same uneven plane as the house. Cutting the joists to length last will ensure that they line up nice and straight. This is especially important on older homes that have gone through decades of settling and natural movement caused by freeze thaw cycles.
While this deck was planned to be 14 feet long, we are going to adjust that measurement just a bit to ensure that a full deck board will line up with the edge of the house without having to be trimmed down.

Step 1
Find the total length of the joists in inches by multiplying the feet (14 feet in this case) by 12: 12x14=168.

Step 2
Take that number and divide it by the width of a full deck board plus the gap that is needed between the deck boards. In this case, the deck board is 5 ½” and the gap between the deck boards is ¼”. This comes to 5.5+.25=5.75. Divide the 168 total inches by 5.75, which equals 29.21.

This distance would mean that the deck would have 29 full deck boards and a narrow, ripped piece of a deck board (.21) at the house.
Step 3
Find out how much space is required to accommodate 29 full deck boards and the gaps in between them by multiplying 5.75 x 29. This equals 166.75, which means the deck should end 166 ¾ inches away from the house.

Step 4
To account for the width of the rim board, subtract 1-1/2 inches from 166 ¾. That gives you 165-1/4 inches, the length of your joists. Mark a line at 166-3/4 inches out from house on each end joist.

Step 5
Now take a chalk line and attach it at the mark on one side, pull the line tight to the other mark; and snap the line to mark where the joists need to be cut.

Pro Tip
Cutting the joists to the marked string line makes sure the deck frame and deck boards are straight. Walls in houses can have a bow in them and if all the joists were cut to the same length and then installed, they would follow the bow of the house making the deck boards curved or wavy. The use of a string line ensures a straight line for the deck boards to be installed.
Step 6
To cut the ends of the joists make sure to be safe when using the circular saw. Start by setting the depth of the saw blade to the thickness of the material to be cut.

Make sure to stand to the side of the saw when cutting.

Use a speed square to mark a cut line or use it as a guide for your saw's plate.

Step 7
Finish cutting the joists.

Hold the speed square tight to the joist and let the saw follow the speed square edge. This will ensure a straight cut and keep the end of the joist plumb. This keeps the rim joist plumb which in turn keeps the guardrail post plumb. Cut all the way through the joist and let the end of the joist fall to the ground.

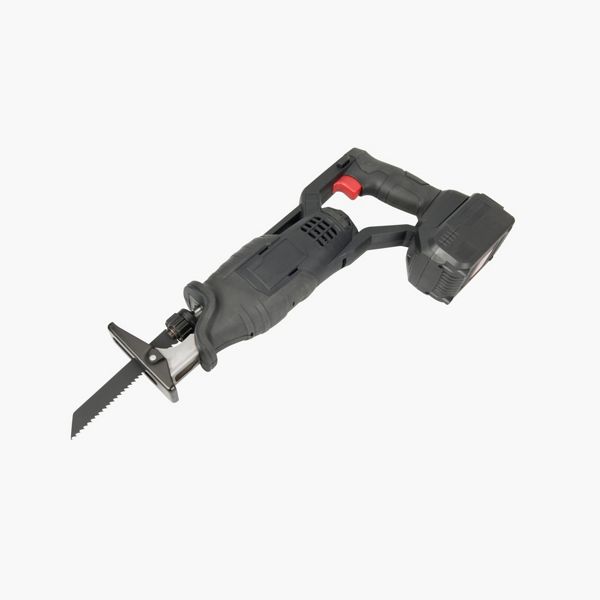
Repeat this process on the remaining joists. In the instance of a double joist, cut the top of the joist with the circular saw and then finish the cut with a hand saw or reciprocating saw.

Step 8
Treat all ends of the joists that were cut.

Step 1
If you are working alone, you can attach a small block to the bottom of one outside joist to hold up that end of the rim joist while you fasten the other . Use a scrap piece of lumber and attach it from the underside of the joist with 3” wood screws.

Place the rim joist on top of the blocks and close to the ends of the joists.

Step 2
Mark the front of the rim joist to show where the fasteners will be placed. In this case the fasteners were two inches down from the top and two inches up from the bottom. There will be two fasteners at each joist.

Step 3
Fasten the rim joist to the ends of the field joists.

The remaining joists will have the 5” Simpson Strong Tie SDWS Timber screws to attach the rim joist to the field joists. Two fasteners into each joist.

Pro Tip
Predrill the joists when installing the longer fasteners.

Step 4
When the deck is longer and needs to have two pieces of lumber to cover the total distance, a splice is going to be required. Where a splice is required, putting the splice in between two joists is preferred. Cut and place a piece of the joist material in between the two field joists and tight against the front rim joist. Fasten the block through the joists on either side.

And then fasten the two joist ends to the block.

Even though you crowned the joists before you installed them, the top surface of the deck may not be perfectly flat. The last steps will help ensure that it is.
Step 1
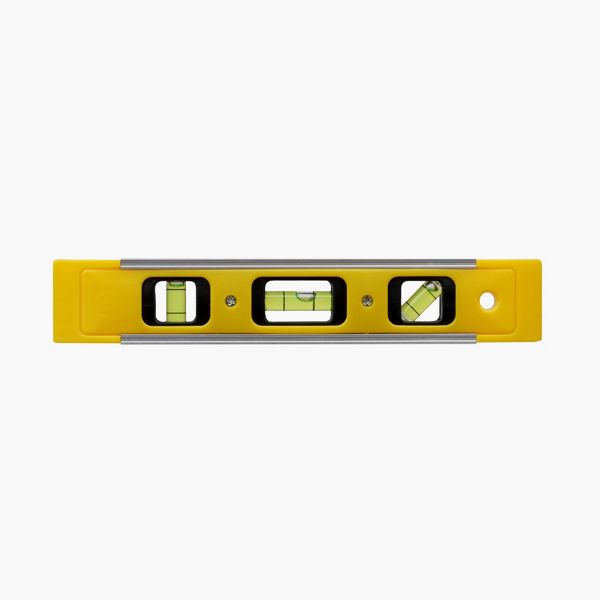
Use a level to check for high spots along the middle of the deck. Place the level on at least three joists. If the level rocks up and down, then one of the joists is high. Mark that joist to show it as a high spot. Repeat this process down the entire deck.

Step 2
Once all high spots have been marked, use a planer to cut the high spots down. Take a little bit at time and check with the level in between cuts. Treat the cuts with a wood preservative once complete.


This content was partially or fully generated by AI and has been reviewed by our team to ensure accuracy and relevance.


Copyright © 2026 Trex Company, Inc. All rights reserved.
Photos and videos © 2026 Warner Bros. Discovery, Inc. or its subsidiaries and affiliates. All trademarks are the property of their respective owners. All rights reserved.
- Country
-
Australia
-
Austria
-
Bahrain
-
Brazil
-
Canada English
-
-
Chile
-
Colombia
-
Costa Rica
-
Cyprus
-
Czech Republic
-
Fiji
-
France
-
Germany
-
India
-
Ireland
-
Israel
-
Kuwait
-
 Lithuania
-
Mexico
-
Netherlands
-
New Zealand
-
Norway
-
Oman
-
Qatar
-
Saudi Arabia
-
South Africa
-
Spain
-
Sweden
-
Switzerland
-
Turkey
-
United Arab Emirates
-
United Kingdom
-
United States
-
Venezuela
By choosing your country, you acknowledge that you have read Trex's Privacy Policy