- 01: About the Trex Color-match Composite Deck Screws →
- 02: Installing Color-match Deck Screws →
Features and Benefits
You took the time to select the perfect decking, so why would you then fasten your deck boards with shiny standard deck screws that stick out like a sore thumb?
- Machine-cut slot: The machine-cut slot effortlessly pierces through the high-performance Trex shell, facilitating a smooth installation process.
- Lower threads and HEXSTIX: Unique tri-lobe lower thread design paired with patented HEXSTIX drive technology ensures a fast and wobble-free drive, enhancing efficiency and precision.
- Mushrooming elimination: Reverse threads and a unique head design prevent mushrooming around the screw head, resulting in a clean and polished finish.
- Flawless color-match: An epoxy-coated head flawlessly matches all Trex shell colors, providing exceptional resistance to color-fade and corrosion.
- Warranty: Enjoy the same warranty length as the deck board when using Trex Transcend, Select, and Enhance lines of decking, offering peace of mind and durability.
Use Cases
Trex Color Match Composite Deck Screws can be used for almost any deck project that requires Trex decking. This could include projects such as:
- Freestanding decks
- Multi-level decks
- Deck expansions
- New deck builds
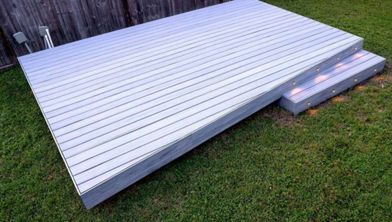
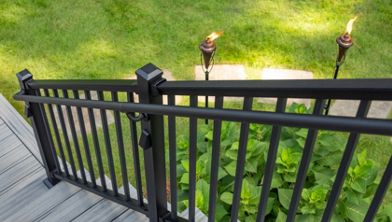
No matter your project, using Trex Color Match Composite Deck Screws allows you to create a clean, flawless look for your decking.
Note: These screws are not recommended for use in salt environments or with sleeper systems less than 2” thick.
Packs & Contents
Trex color match screws for decks are available in three convenient pack sizes (75 ct., 350 ct., and 1,400 ct.), each including patented HEXSTIX drive bits. This ensures you have everything you need to complete your project efficiently.
Step 1: Plan out Fastener Placement
Use two screws per joist or stair stringer to ensure optimal stability for your deck.
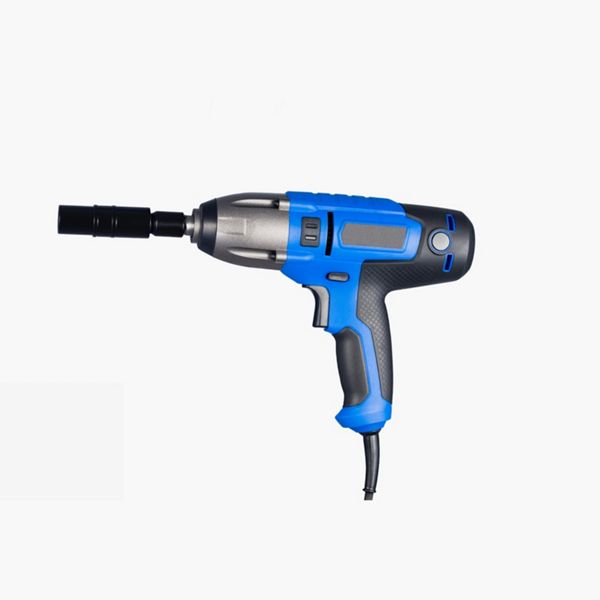
Step 2: Drive the Screw
Drive screws at a 90-degree angle to the face of the board with a drill or impact driver to achieve a secure fit.
Pro Tip
Before installing screws closer than 1” from an end or edge, pre-drill the deck board using a 1/8” drill bit for precision placement.
Step 3: Make it flush
Countersink the screw head until it's flush with the surface of the deck board to achieve a polished aesthetic. Skipping this step could cause your screws to stick out from your board and become not only an eye sore but also a potential safety hazard.
Now that you understand how to install Trex color match screws, it's time to get started on your project. Visit our site and pick up the right color match screws to match your decking so you can create a secure, flawless outdoor space.


This content was partially or fully generated by AI and has been reviewed by our team to ensure accuracy and relevance.


Copyright © 2026 Trex Company, Inc. All rights reserved.
Photos and videos © 2026 Warner Bros. Discovery, Inc. or its subsidiaries and affiliates. All trademarks are the property of their respective owners. All rights reserved.
- Country
-
Australia
-
Austria
-
Bahrain
-
Brazil
-
Canada English
-
-
Chile
-
Colombia
-
Costa Rica
-
Cyprus
-
Czech Republic
-
Fiji
-
France
-
Germany
-
India
-
Ireland
-
Israel
-
Kuwait
-
 Lithuania
-
Mexico
-
Netherlands
-
New Zealand
-
Norway
-
Oman
-
Qatar
-
Saudi Arabia
-
South Africa
-
Spain
-
Sweden
-
Switzerland
-
Turkey
-
United Arab Emirates
-
United Kingdom
-
United States
-
Venezuela
By choosing your country, you acknowledge that you have read Trex's Privacy Policy