- 01: Features and Benefits →
- 02: Installing Trex Hideaway® Fascia Plugs →
- 03: Removing Plugs and Fasteners (if needed) →
Fascia Plugs
- Exclusively Trex: Tailored exclusively for Trex composite builds, expertly blended color match and embossing technology for an exceptional finish
- Easy Installation: Simple tap or hammer method to install plugs
- Hassle-Free Design: Straightforward plug removal without twisting and ample space between plugs to tap each plug into place.
- Secure Fit: Ribbed edges on plugs ensure a snug and secure placement, suitable for efficient impact driver installation
Composite Fascia Screws
- Efficient Drive: STICK-TIGHT® technology with tri-lobe shank ensures consistent adherence and smoother drives into dense boards
- Clean Drive: Sharp upper threads expertly clear away debris
- UV Protection: Equipped with top-tier UV inhibitors to safeguard against sun damage
- Guided Installation: Color-coded equipment for quick, intuitive setup
- Minimized Distortion: Precision machine slot cut ensures a clean drive and board integrity
- Reliable Fit: Advanced Phillips HEXSTIX® Drive System offers unmatched tightness and reliability
Fascia Plug Counterbore
- Color-Coded Precision: Distinct teal for plug-specific fastening differentiates from screw-specific counterbore
- Optimal Design: Forged spade with rotating wing for optimal cuts
- Seamless Finish: Pairs perfectly with Trex Hideaway® Fascia Plugs
- Material Integrity: Preserves material while ensuring efficient removal
- Easy Pre-Drilling: Designed for a discreet and seamless look
Fascia Plug Depth Setter
- Custom Design: Expertly designed tool specifically crafted for perfect fascia installations.
- Phillips HEXSTIX® Drive System: Quickly and precisely drills the correct depth every time with ultimate confidence.
- Premium Materials: Rubber bumpers protect the surface of your deck while drive bits are milled, not forged, ensuring longevity and performance.
- Simplified Tooling | Convenient color-coded identification and tools available ̀a la carte for easy replacements
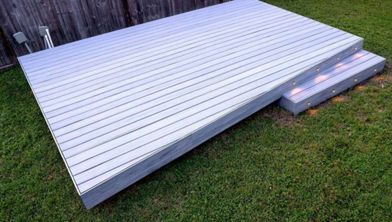
Step 1: Prepare Your Fascia Boards
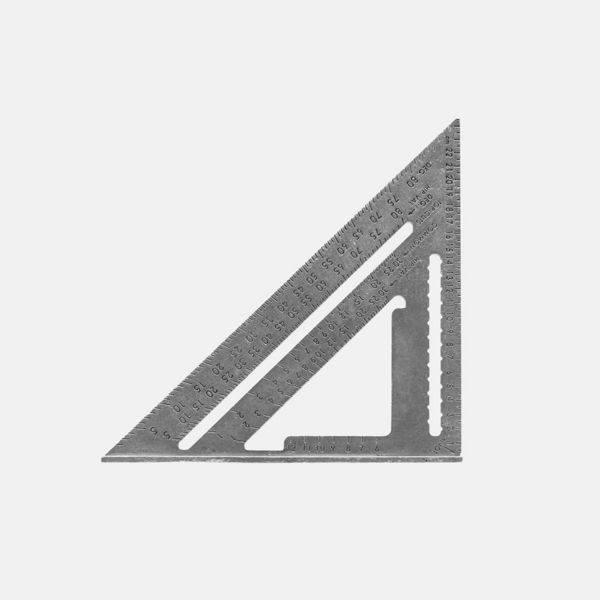
Trim your Trex® fascia boards to achieve clean edges before laying out the fastener placement.
Step 2: Fastener Placement Guidelines
Follow these guidelines for optimal performance with Trex Hideaway Color Match Fascia Screws:
- Place screws 1 inch from board ends.
- Position screws 1 inch from the edge of the rim joist along the edges.
- Align screws vertically in the field of the board, spaced no more than 18 inches apart.
- Use 2 screws for 8-inch fascia (at ends and in the field) or 3 screws for 12-inch fascia (at ends and in the field).
Step 3: Pre-drill Holes for Fascia Fasteners
Use the teal-colored counterbore tool at a 90-degree angle to the board's face. Drill until the counterbore cup stops spinning, then remove any debris from the hole.
Step 4: Install Composite Fascia Plug Screws
Drive the 1-3/4” black epoxy-coated screws using the teal HEXSTIX depth setter tool labeled "Fascia" until you hear the drive change, indicating the screw is set to the designed depth.
Step 5: Installing Fascia Plugs
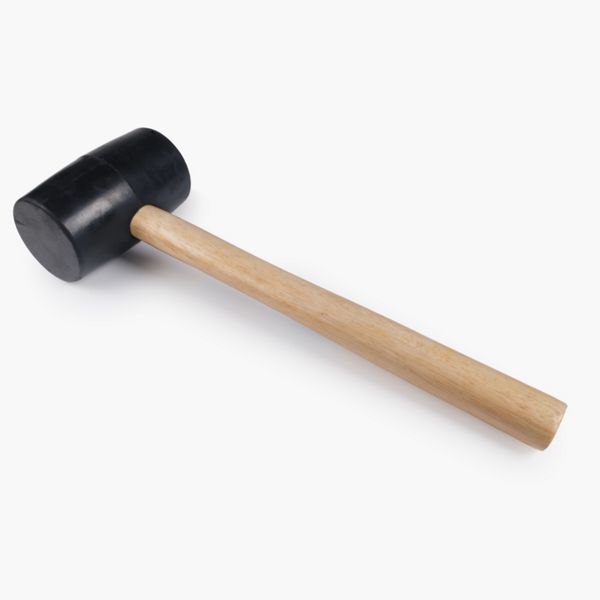
Center the Trex fascia plug over the hole, aligning the grain with the board's grain. Gently tap the plug flush to the face of the board using a smooth-faced hammer.
If you need to remove a plug and fastener:
Step 1: Drive Screw into the Plug
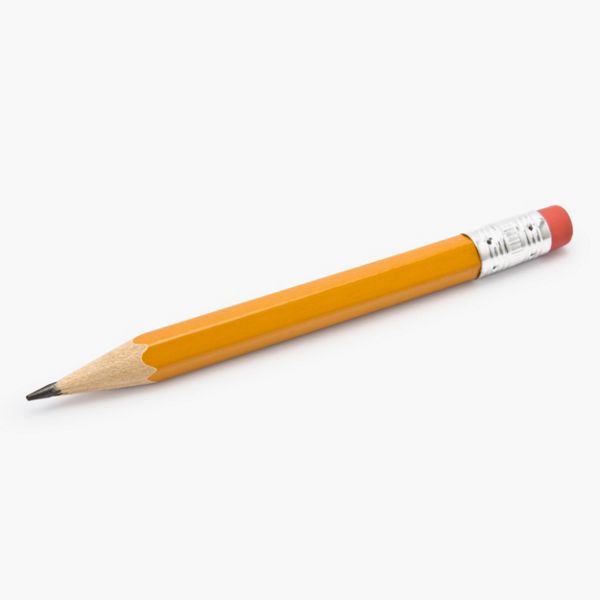
Drive a sharp point screw into the plug about one-quarter inch (¼”).
Step 2: Pry Out the Plug
Place a block of wood or decking next to the screw and gently pry the plug out using a claw hammer or pry bar.
Step 3: Remove the Screw
Use the HEXSTIX drive bit or a standard T-20 bit with downward pressure to slowly reverse the drill and draw out the screw.


This content was partially or fully generated by AI and has been reviewed by our team to ensure accuracy and relevance.


Copyright © 2026 Trex Company, Inc. All rights reserved.
Photos and videos © 2026 Warner Bros. Discovery, Inc. or its subsidiaries and affiliates. All trademarks are the property of their respective owners. All rights reserved.
- Country
-
Australia
-
Austria
-
Bahrain
-
Brazil
-
Canada English
-
-
Chile
-
Colombia
-
Costa Rica
-
Cyprus
-
Czech Republic
-
Fiji
-
France
-
Germany
-
India
-
Ireland
-
Israel
-
Kuwait
-
 Lithuania
-
Mexico
-
Netherlands
-
New Zealand
-
Norway
-
Oman
-
Qatar
-
Saudi Arabia
-
South Africa
-
Spain
-
Sweden
-
Switzerland
-
Turkey
-
United Arab Emirates
-
United Kingdom
-
United States
-
Venezuela
By choosing your country, you acknowledge that you have read Trex's Privacy Policy